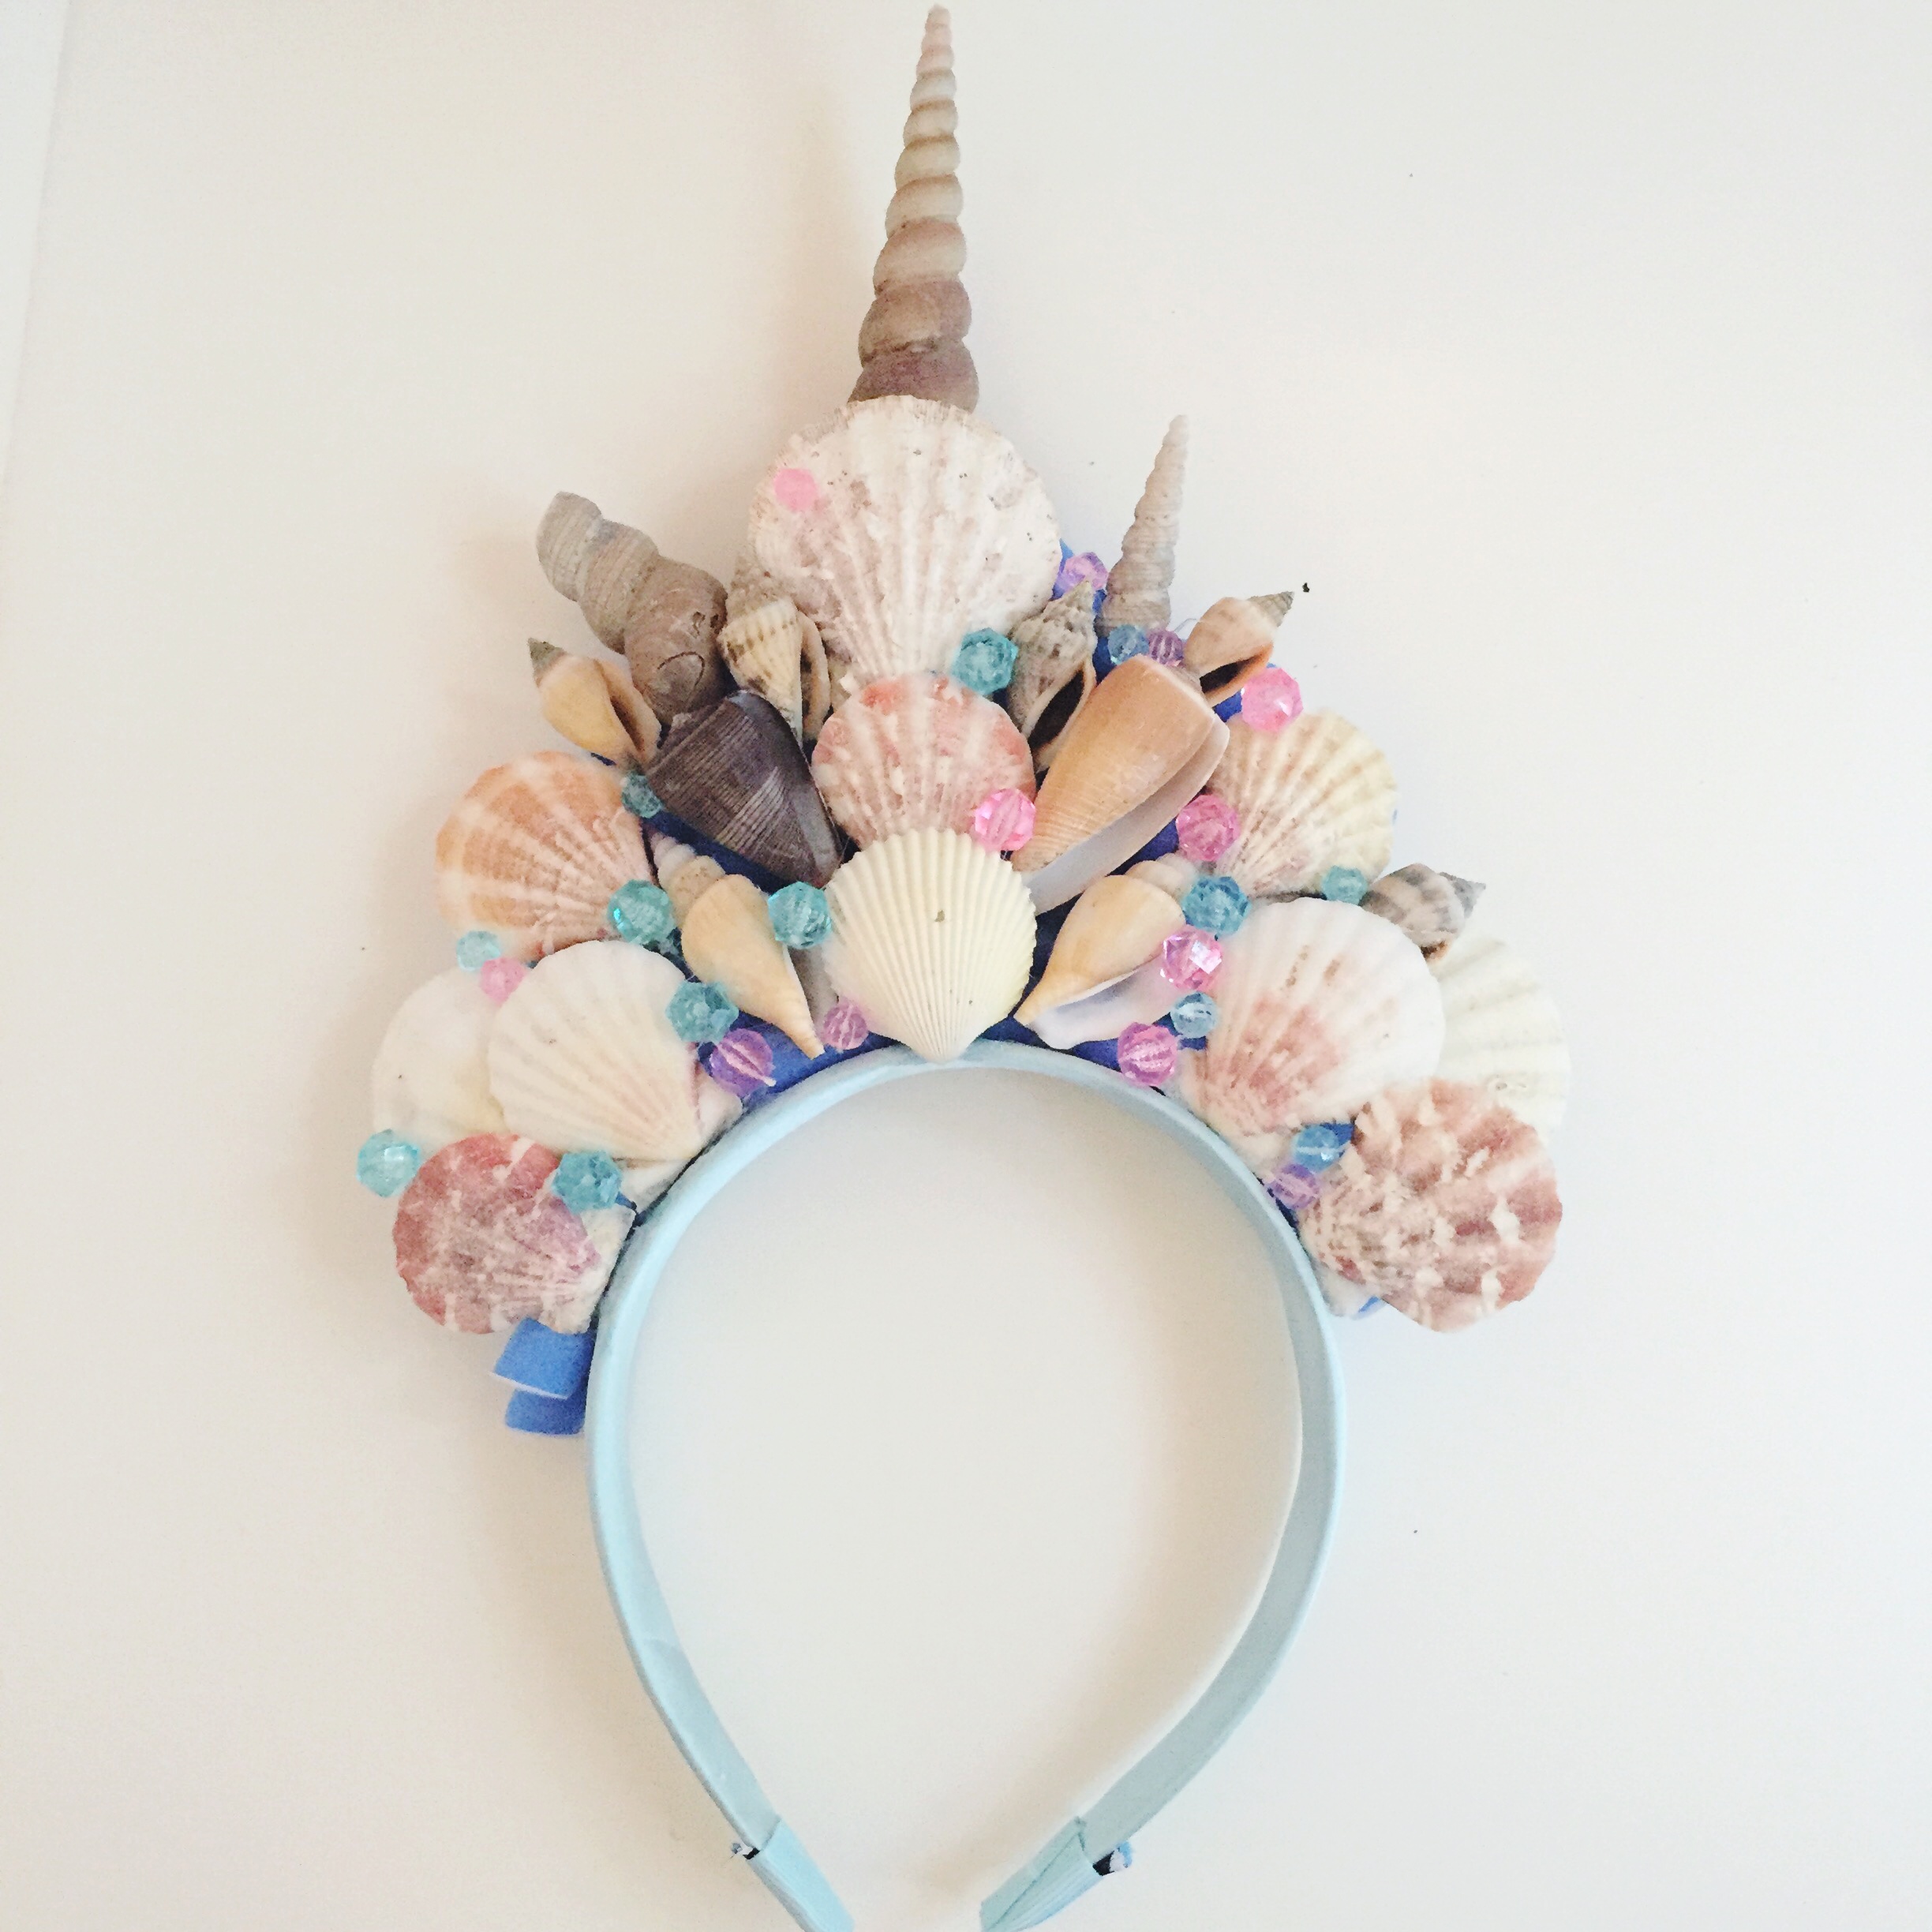
DIY mermaid crown

YAY! It's mermaid week here at Happy Soiree! (we totally made this up & we don't care!)
As I countdown to my 30th birthday I just decided that I'm done adulting and I'm ready to just be a mermaid!
Girls let's be mermaids! Who's down??
To help you get your mermaid on we are kickin off the first wave with a DIY mermaid crown! because what's a mermaid without her crown?
Best part is....I made this for less than $10!
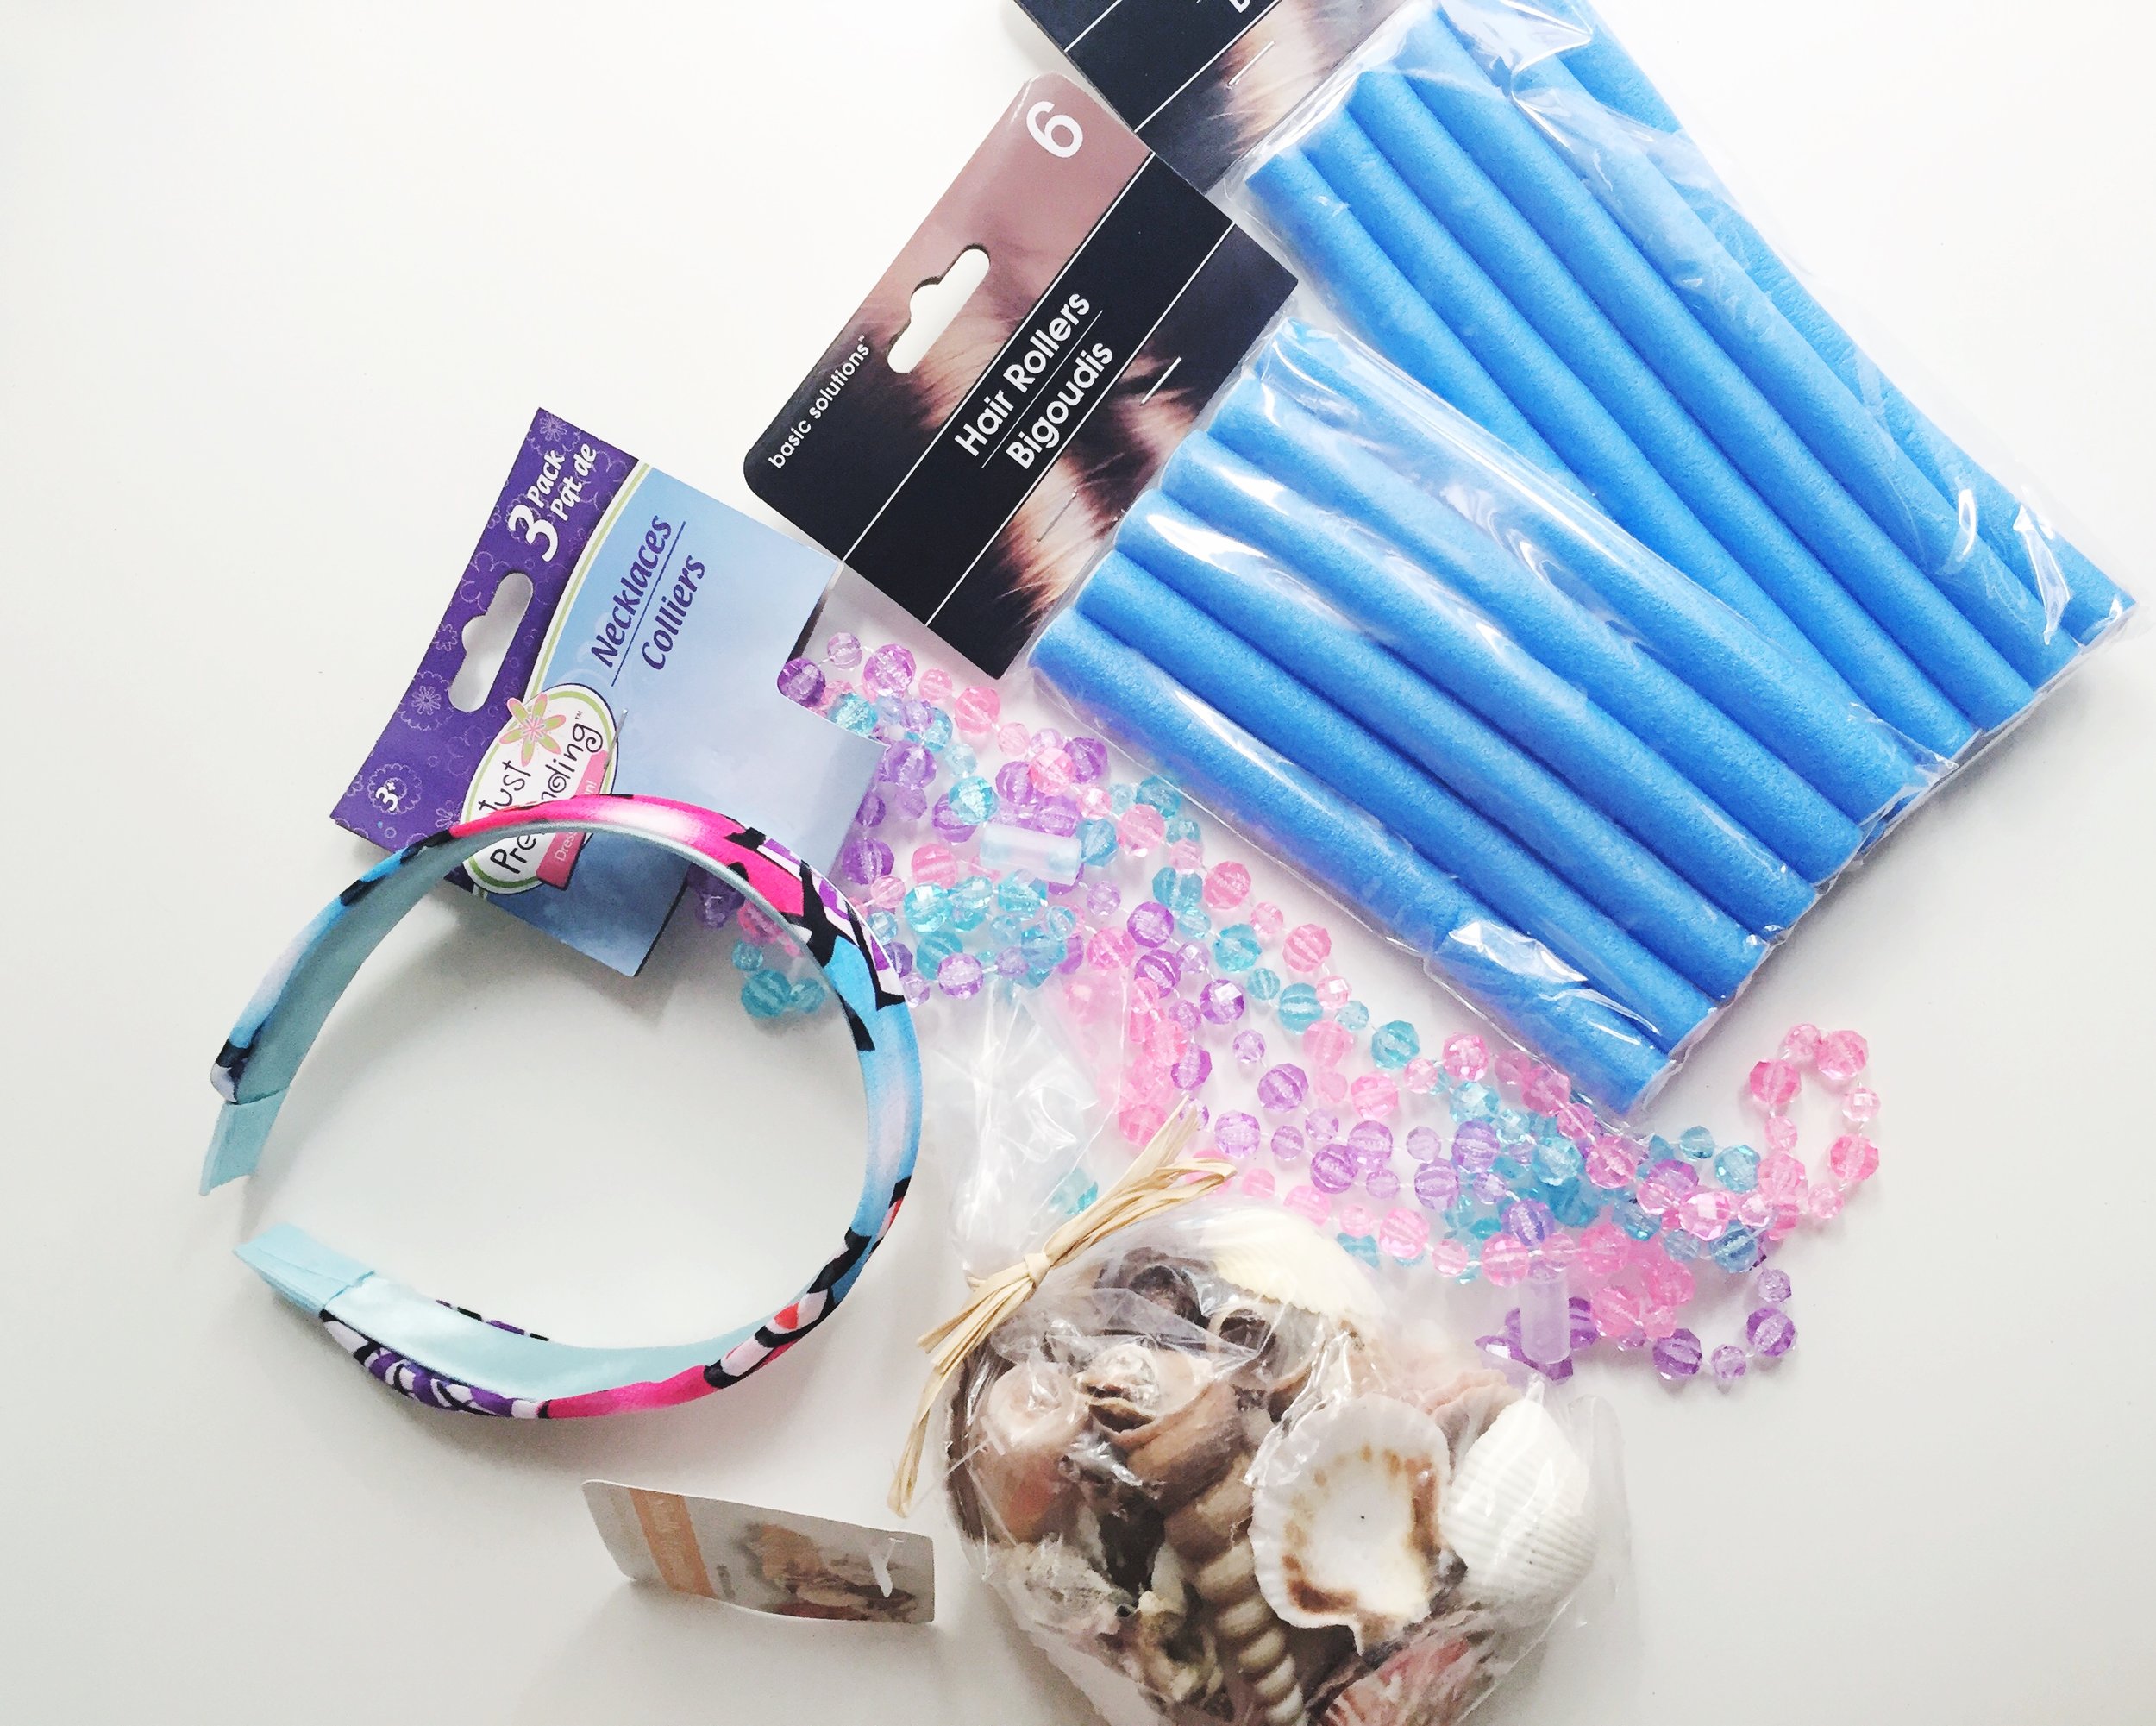
here's what you need:
- a headband
- seashells
- foam hair rollers
- gems or necklaces you can cut up.
- A glue gun (or really strong glue)
I bought all of this at dollar tree! (minus the glue gun)
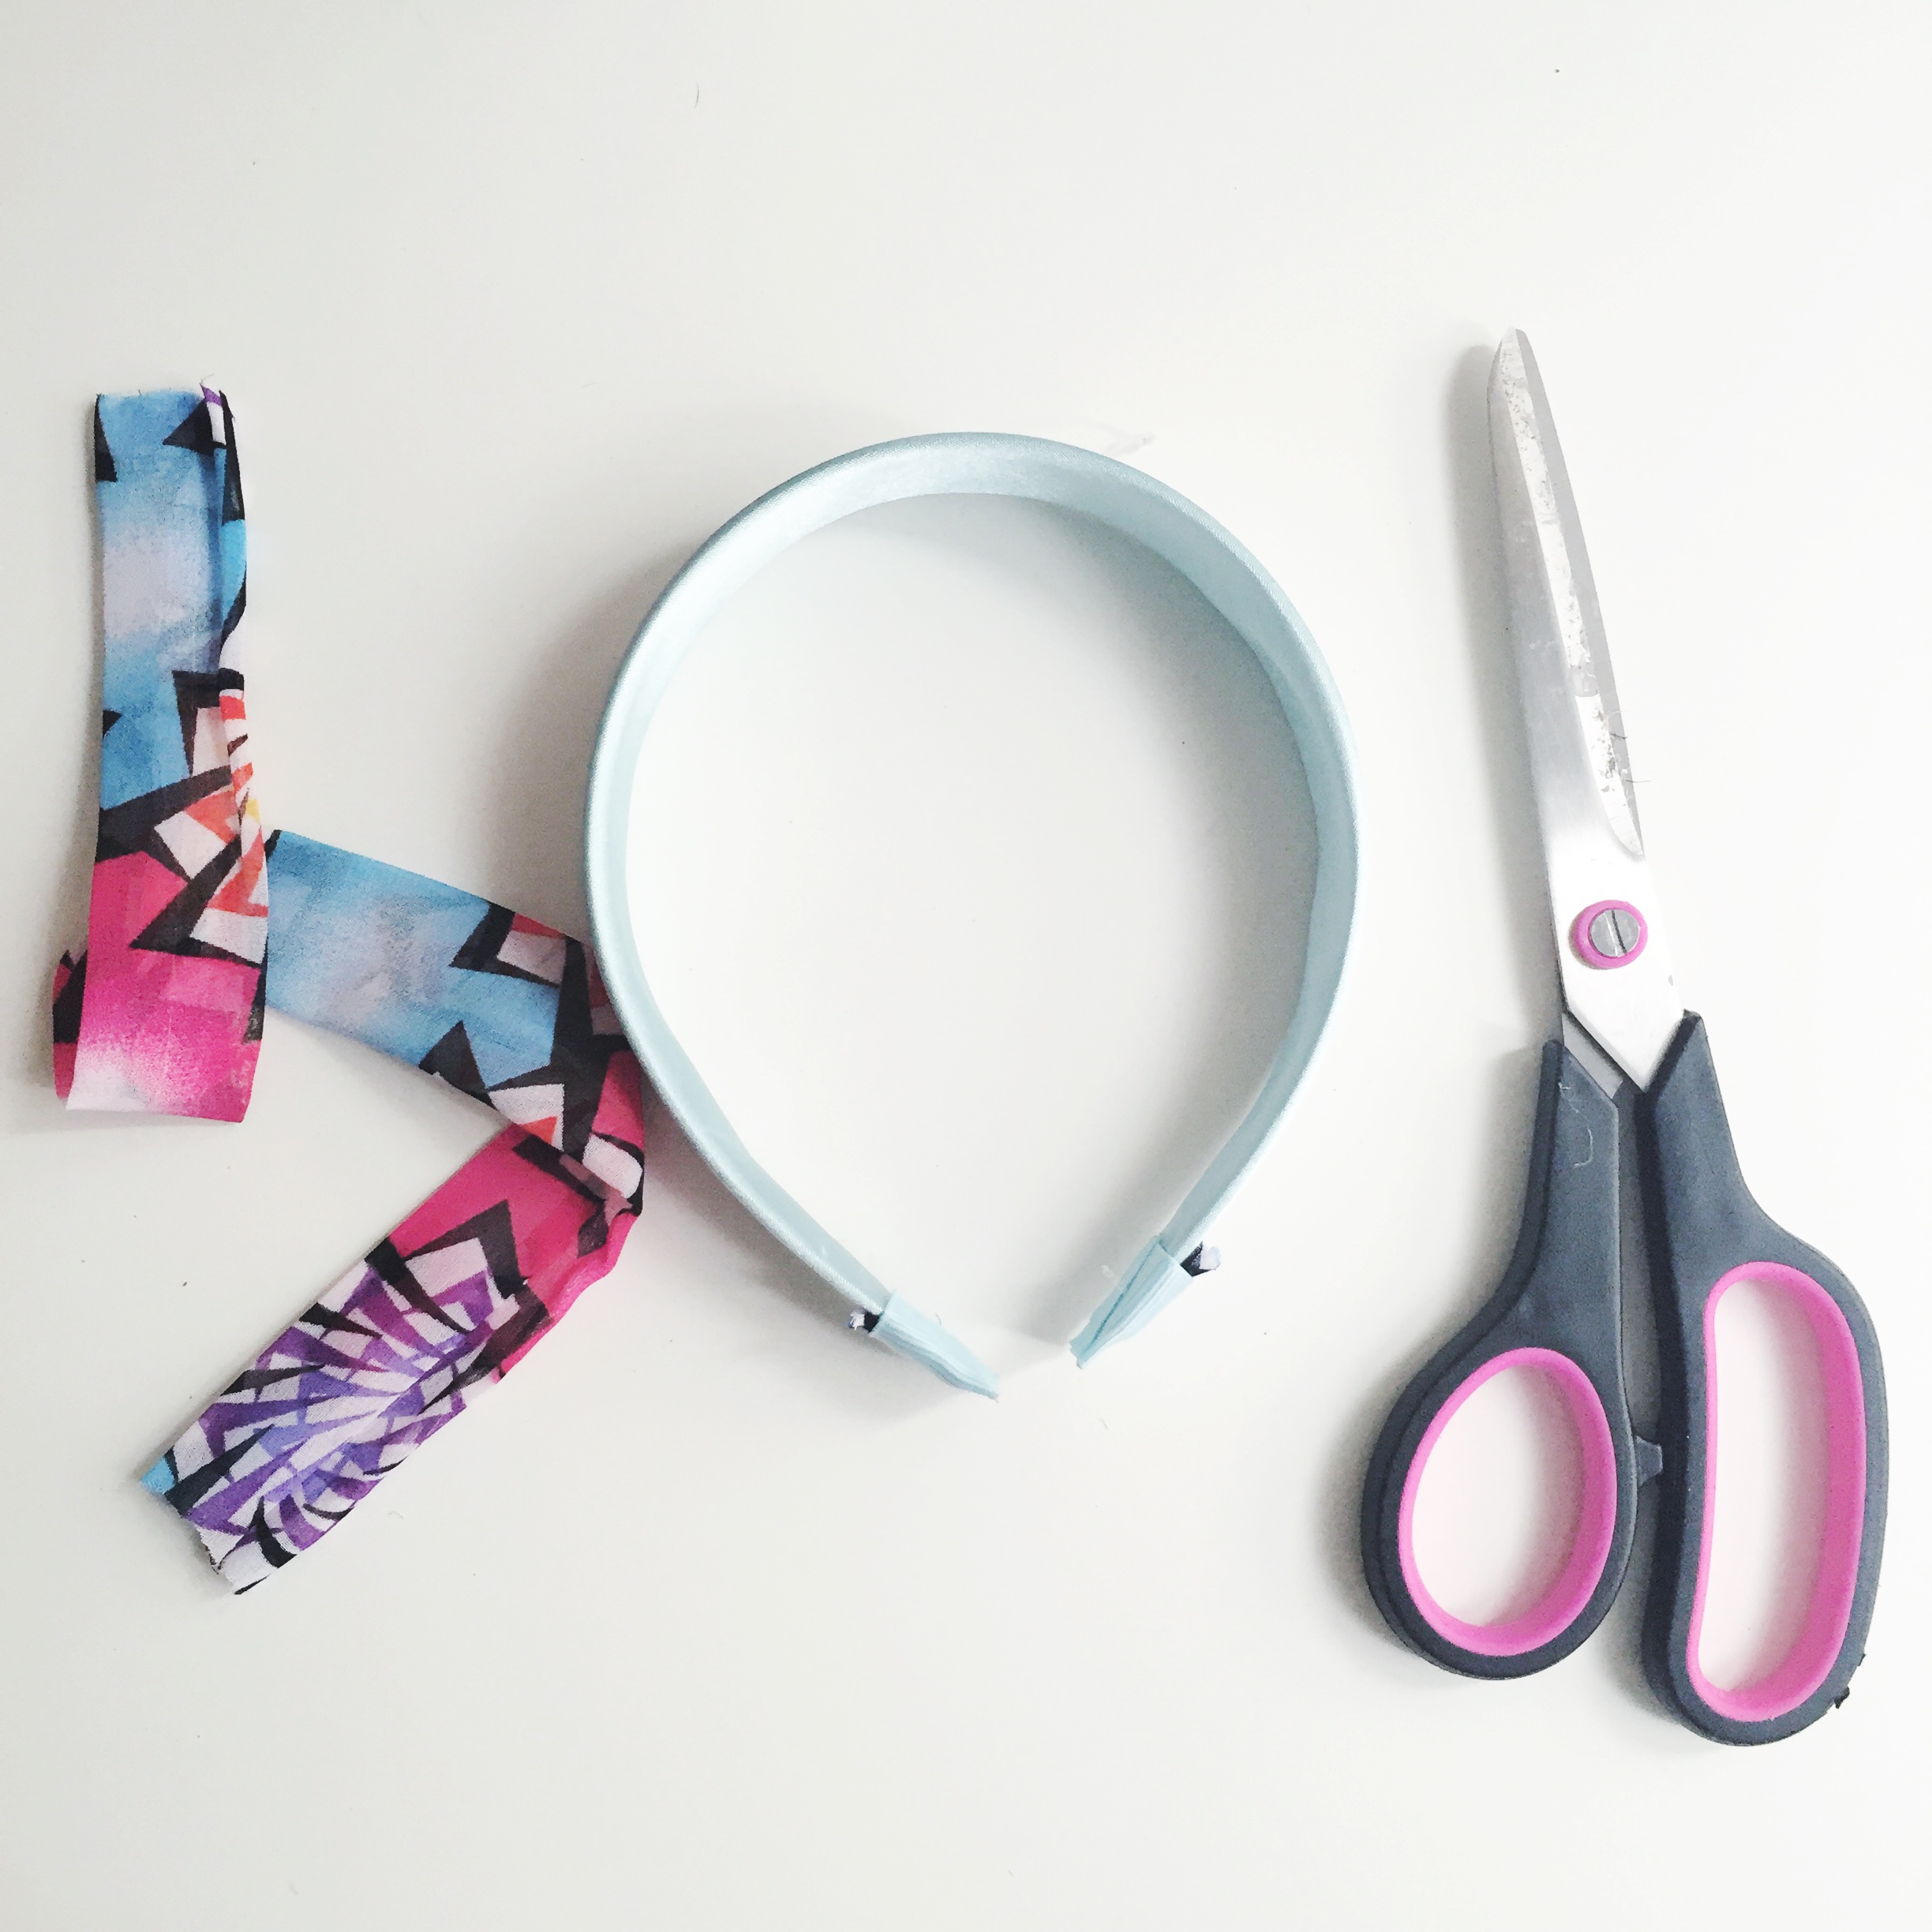
Step 1:
If your headband comes with extra fabric on it- just simply cut it off.
step 2:
Take your roller and bend it against the headband and glue (with a glue gun or really strong glue)

step 3:
Glue one behind the one you first glued

continue layering hair rollers and gluing them on top of each other.
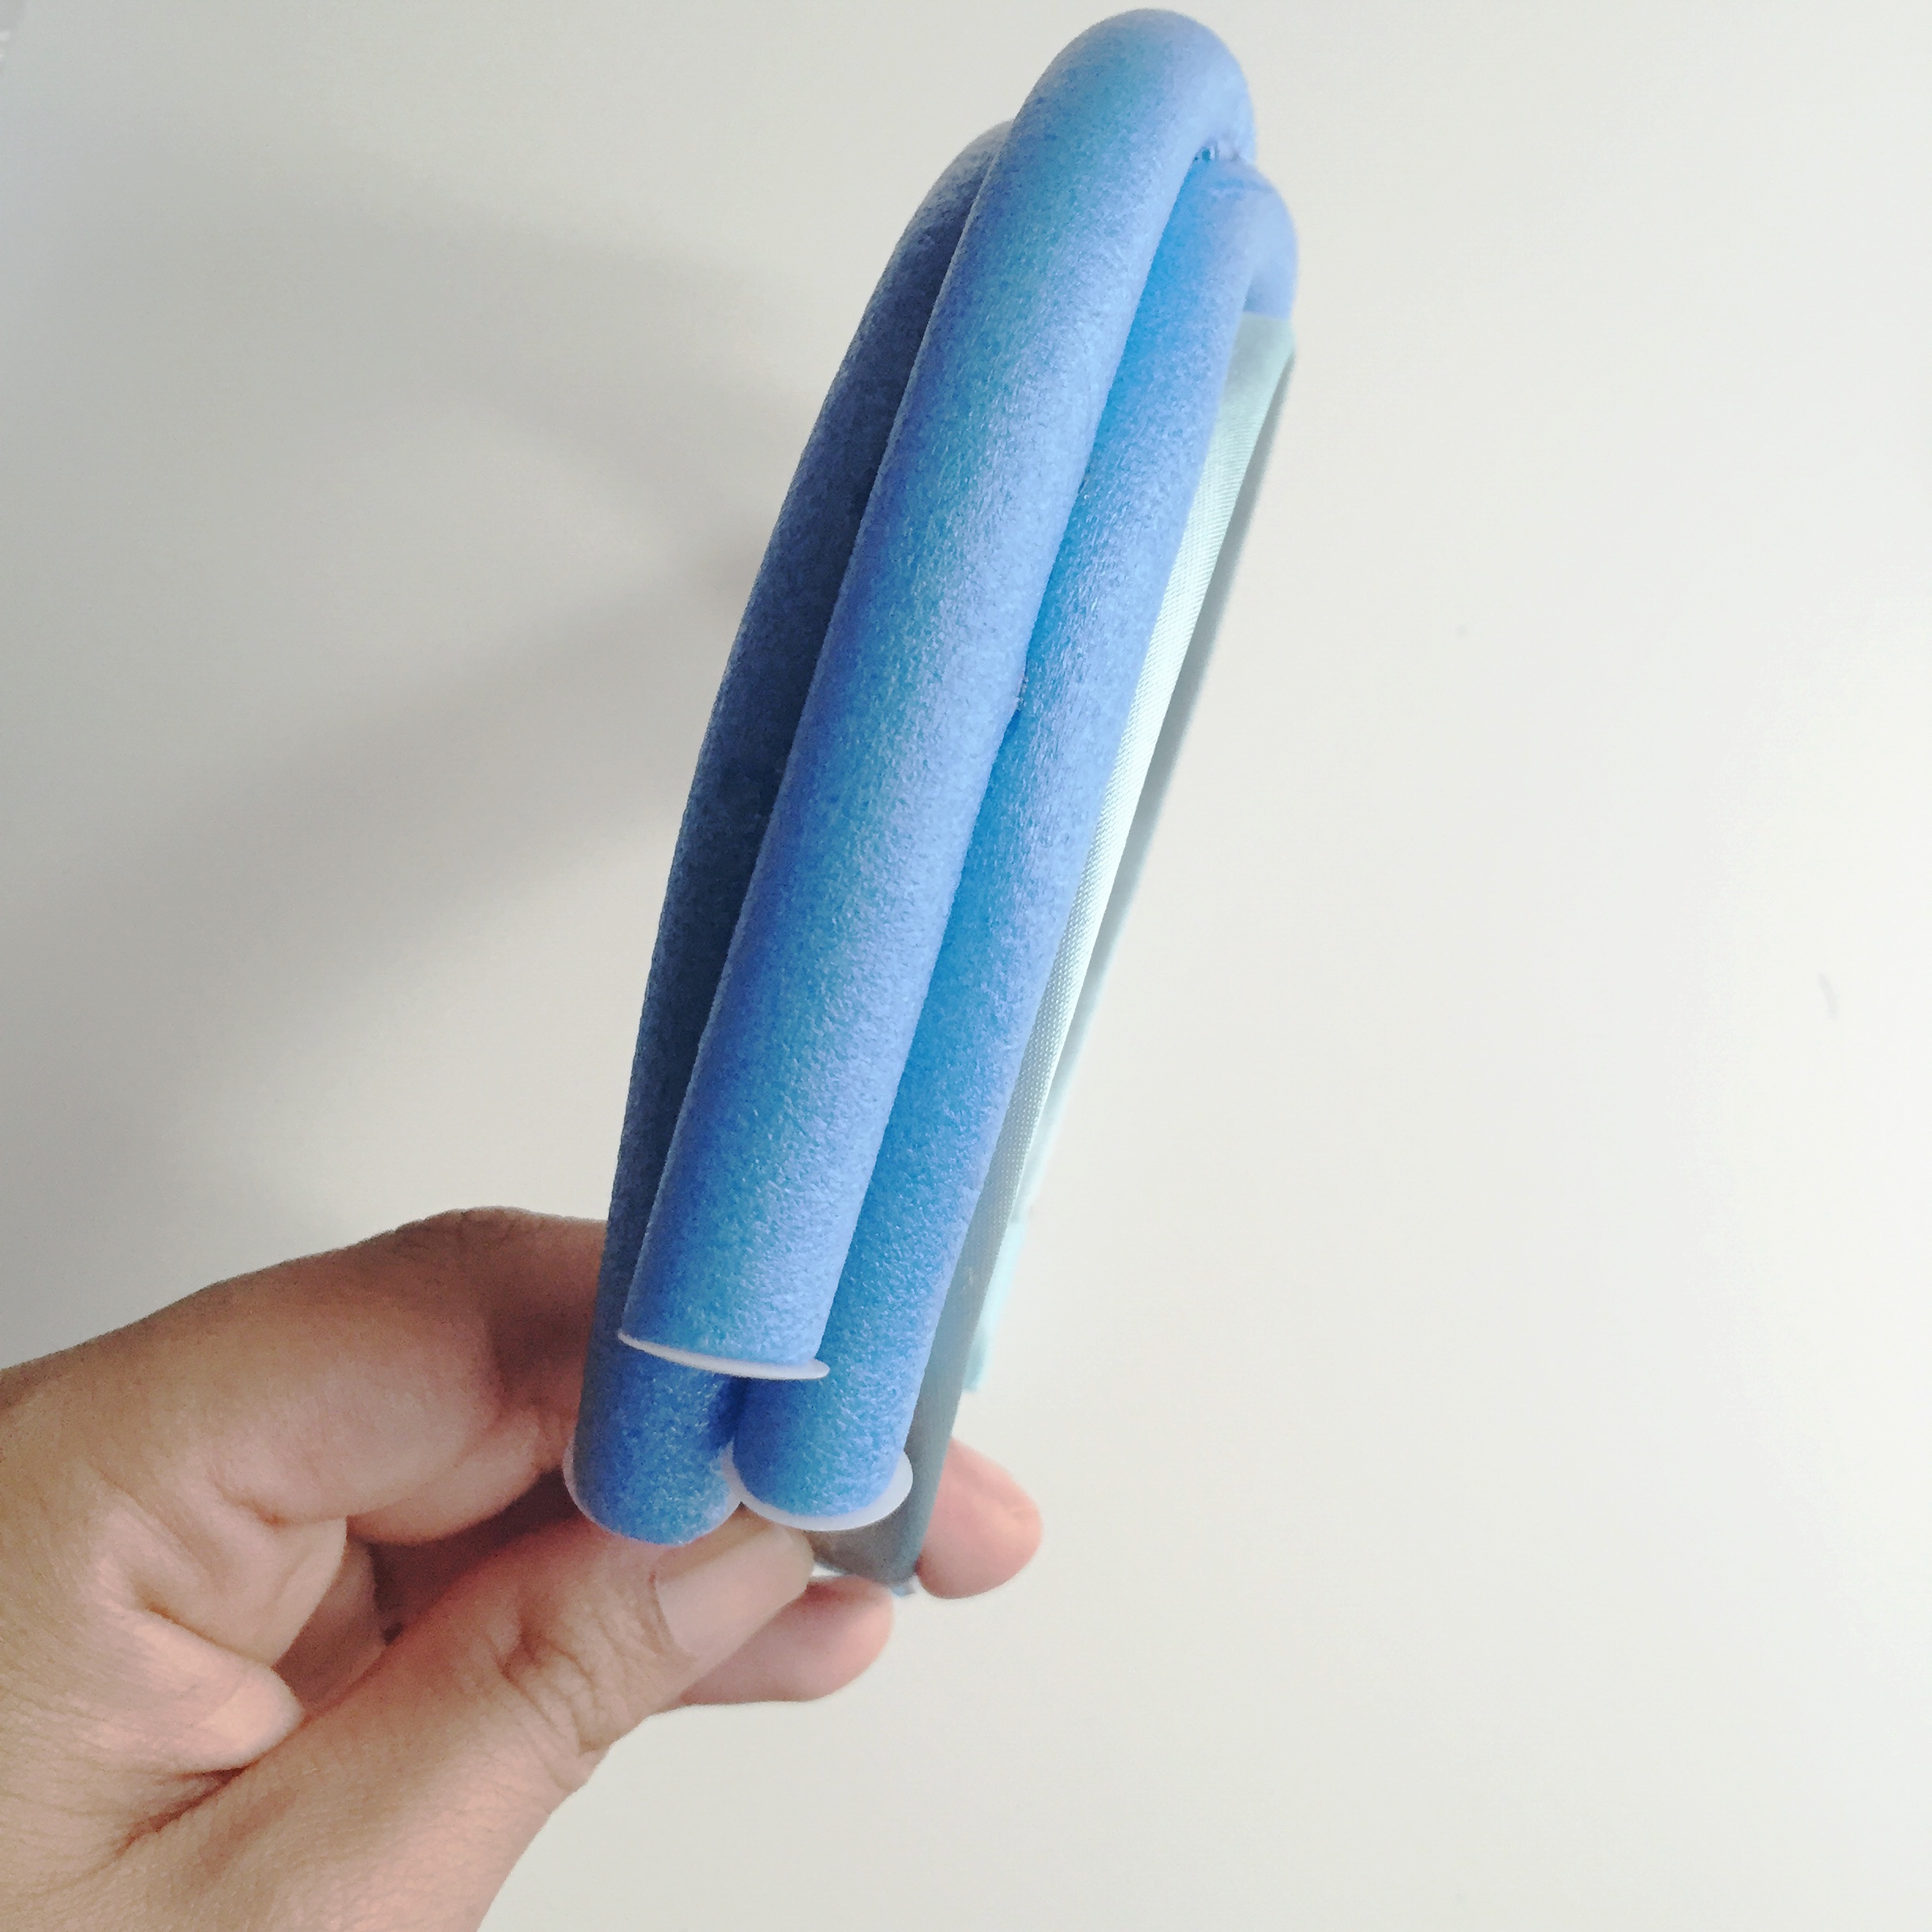
Keep in mind the shape, this is your base to hold up the seashells. I knew I wanted mine to be tall and pointy at the top so I stacked a few, using shorter rollers at the top and bending the final roller to a point at the very top.

step 4:
Plan out where you want your sea shells to go. (when choosing a bag of shells at the store be sure to grab one that has a bunch of different shaped shells) my favorite shells are the ones that look like unicorn horns duhhh!

step 5:
Glue the shells on! I glued the bottom ones to the headband and the rollers. Moving upwards I glued them on the rollers and on some parts of the shells that touched. You really want to make sure you put a lot of glue, because girl- you don't want shells falling of your crown while you slay.
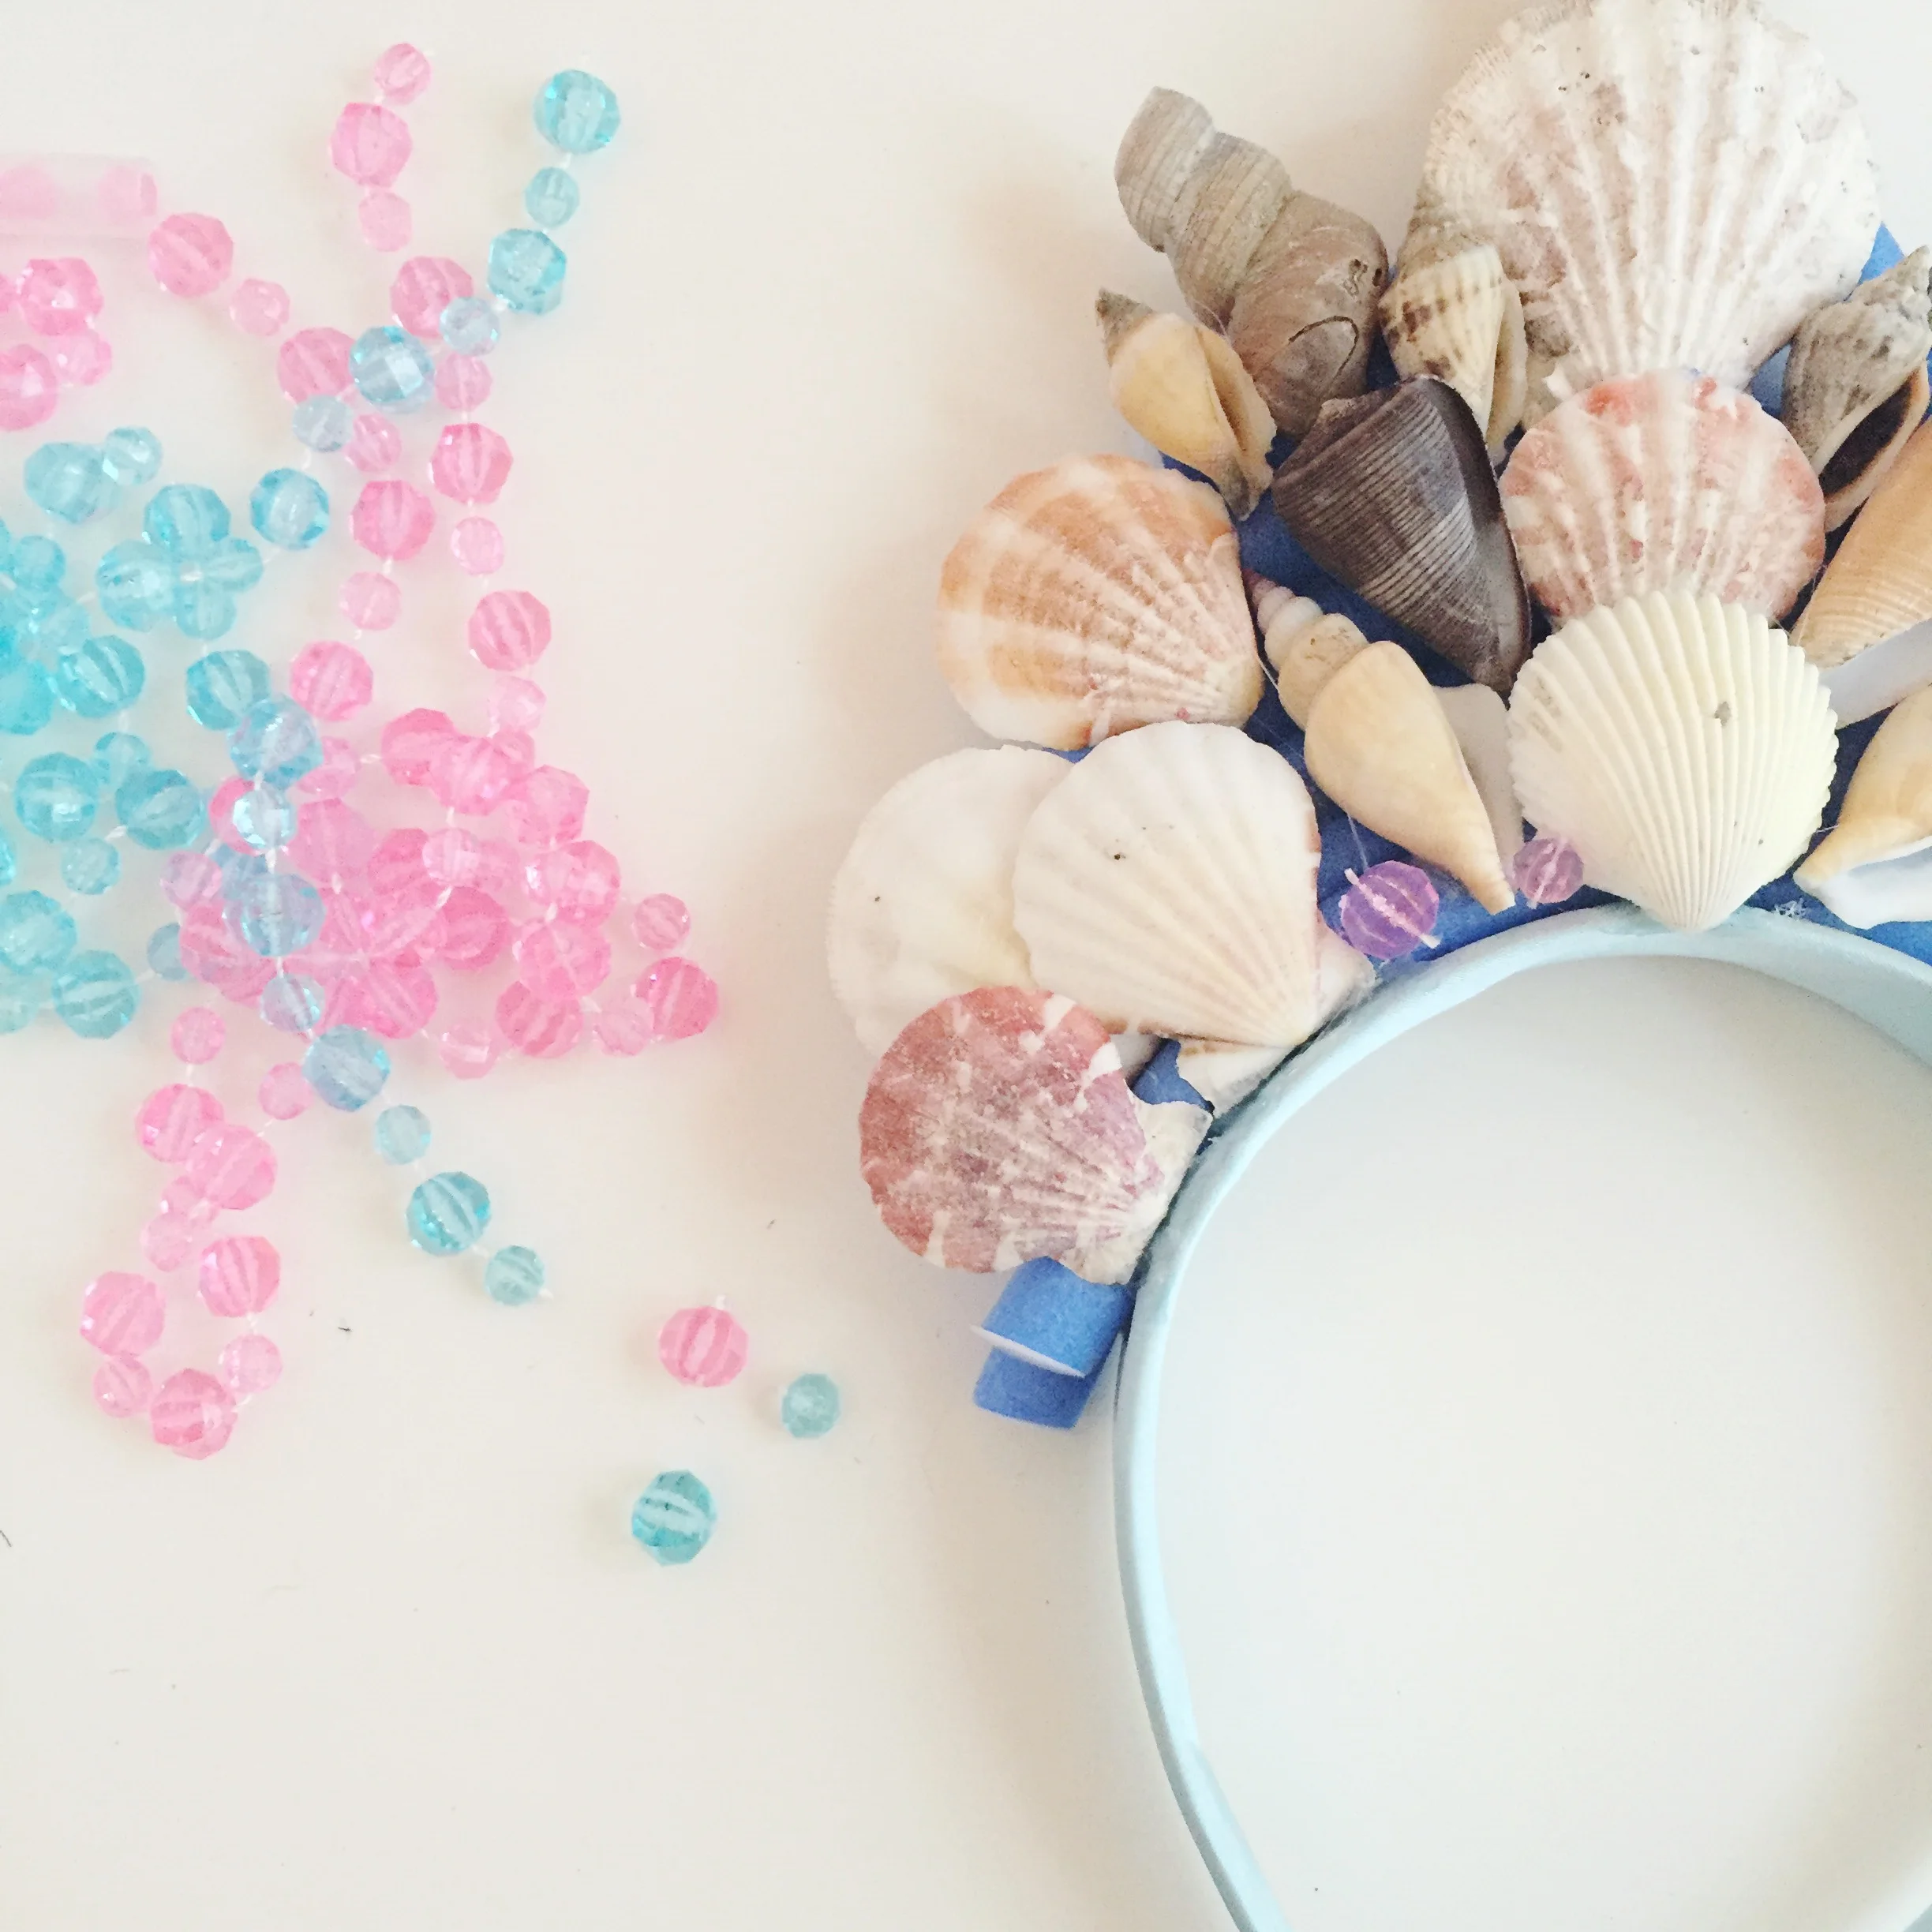
step 6:
Cut up beads and glue on as embellishments. Be sure to cover up most of the rollers.
I did end up covering up that last piece on the bottom left with more beads, because I couldn't find the perfect shell for that part. Plus I knew my hair would cover that part.
Later on I also ended up adding little sticker pearls on some of the shells.
*also if you love color as much as I do you could totally paint the shells to make it even more awesome!

step 7:
SLAY QUEEN!
Become a mother f*ckin mermaid & have fun!!!

The most important step is to slay and have fun babes!!! Never give up your daydreams and make waves!!
If you try this DIY please be sure to share with us on Instagram! We would love to see your magic!